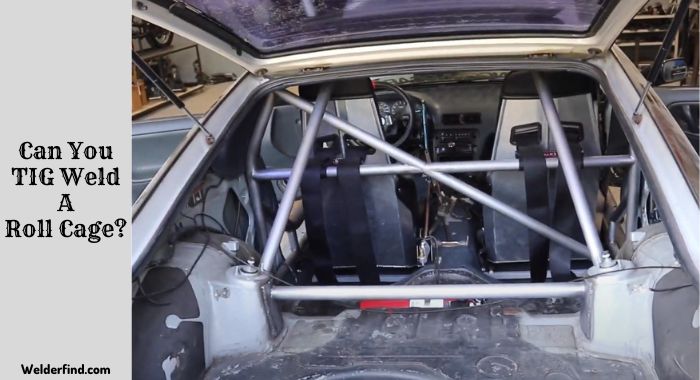
TIG welding is a great way to build a roll cage for a car or truck. In fact, it’s a safety requirement for competitive motorsports because TIG welding can create solid, durable roll cages using non-consumable tungsten electrodes.
Read on to learn more about the TIG welding roll cage.
Can You TIG Weld A Roll Cage?

Yes. TIG welding is an excellent way to build roll cages for vehicles. It uses non-consumable tungsten electrodes to provide a strong and durable weld for roll cages. As a result, the roll cages become very powerful and do not crack easily.
It is a requirement for many professional motorsports for safety concerns. It provides clean and accurate welding on both thick and thin metal.
But the process is very tricky, and you need absolute precision and a great skillset to perform the job successfully.
You must use the proper welding techniques and safety equipment while performing TIG welding in making roll cages.
That’s how you can maintain your safety while making roll cages that will be strong and long-lasting.
How To Tig Weld A Roll Cage
You have to follow a procedure to weld roll cages using TIG welding. Although it may feel tricky, you can complete it if you know the process.
So, here is the step-by-step process for the TIG welding roll cage:
Step 1: Gather All the Equipment
The process starts with collecting all the necessary tools for TIG welding, including the safety equipment. You will need a welder, TIG torch, filler rod, welding cable, argon gas, cage components, a welding helmet, gloves, goggles, etc. Make sure they are around you while working.
Step 2: Set Up A Welding Area
After gathering all the equipment, you must set up an area to complete the task. Place the roll cage components on the flat surface in a systematic manner.
Step 3: Fill Up the Welding Torch
Now you have to fill up your welding torch with argon gas. Argon gas will be the best option for welding roll cages. Attach the welding cable to your welder machine and the welding torch.
Step 4: Equip Yourself
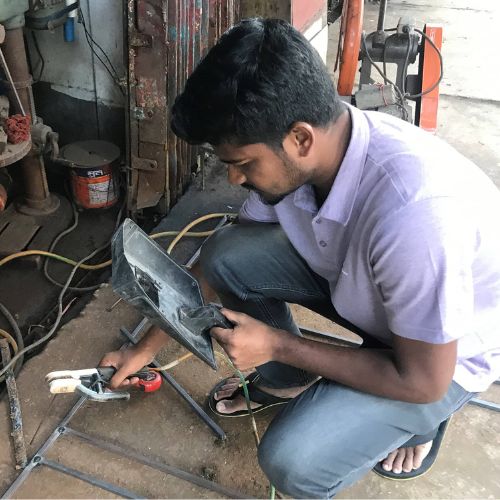
It’s time to equip yourself with safety equipment. Put on your welding helmet, gear gloves, and goggles. Always perform TIG welding projects in a well-ventilated place to let the toxic fumes go out fast.
Step 5: Start Welding
Finally, it’s time to start welding the roll cage. You have to strike an arc with the tungsten electrode on your welding torch. Adjust your welder machine settings according to your roll cage’s material.
Move the welding torch along the edges of your roll cage’s components. Also, use the filler rod into the joints with a steady hand and speed.
Step 6: Clean, Inspect & Repeat
After welding the components, you have to clean the area and inspect it. A wire brush or sandpaper can clean and remove any slag or extra weld from the joint.
Then inspect the joint for any faults. Repeat the same process to complete the roll cage if everything is okay.
Roll Cage Tig Welding Skill And Techniques
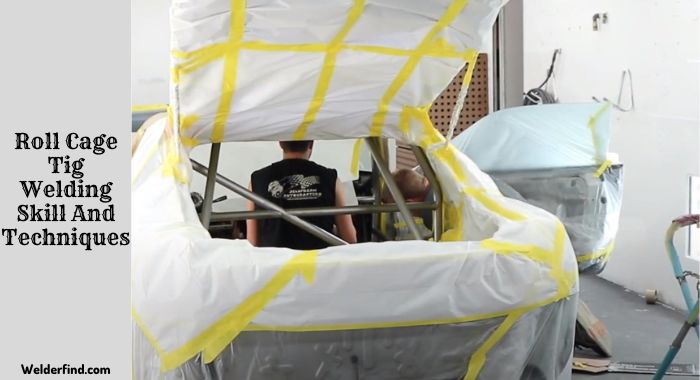
In many cases, TIG welding is necessary for making roll cages for vehicles. Using the proper techniques and equipment to make a strong and secure cage is essential.

Here are some tips related to skills and techniques to get the best results:
- You have to ensure that the TIG welder machine is set with the right settings according to the roll cage’s material.
- Use the right tungsten electrode based on the workpiece material.
- Work with the right size of welding rod and the correct filler material based on the thickness of the cage’s material.
- In cases of welding thinner materials, always use a backing strip.
- Clean the roll cage components and the electrodes before starting welding. It won’t allow any contamination to hamper the process.
- Do not move the cage equipment after welding until they are adequately cooled.
TIG Welding Roll Cage Common Mistake & how Avoid Them
People make common mistakes during TIG welding roll cages, which can be easily avoided. Let’s check out some common mistakes and ways to avoid them:
Excessive Heat Input
Excessive heat during the welding process can make the welded joints weak and crack-prone. You must set your TIG welder and torch with the correct settings. Short and pulsed welds will be a good option here.
Unsatisfactory Weld Penetration
If you do not use the correct settings on your TIG welder or fail to use the suitable filler material, you might not get a satisfactory weld penetration in your roll cage. It’s a common mistake many beginners make.
So, ensure you are using the right components with the right amount.
Not Cleaning the Joints and Materials
Contamination makes the weld fragile. So, always clean up the roll cage components before welding and the joints after welding.
You can remove contaminants, dust, oil, grime, spat, etc., from their surfaces using sandpaper or a wire brush.
Uneven Joint Alignment
If you do not use clamps or magnets to keep the joints together, they might become uneven after welding. So, try to use a clamp or magnets to keep them aligned.
Safety Check
To race with your vehicle, there are some requirements for the roll cage that you must meet. Let’s see what those requirements are:
- The welding of your roll cage must be perfectly penetrating to make it solid and uncrackable.
- Make sure you have used an adequate amount of welds during the TIG welding process.
- Check your roll cage for any signs of cracks, deformities, and dents.
- Ensure that all the mounting points are secured and free of gaps.
- Inspect the roll cage padding and see whether it’s okay.
- Check all the interior components of your roll cage and ensure they are in good condition.
Final Thoughts
TIG welding is a cost-effective and efficient way to weld roll cages for regular and motor sports vehicles.
While it’s a challenging process, it’s not difficult to learn. So, make sure you know all the basics and practice even more to produce strong roll cases.
